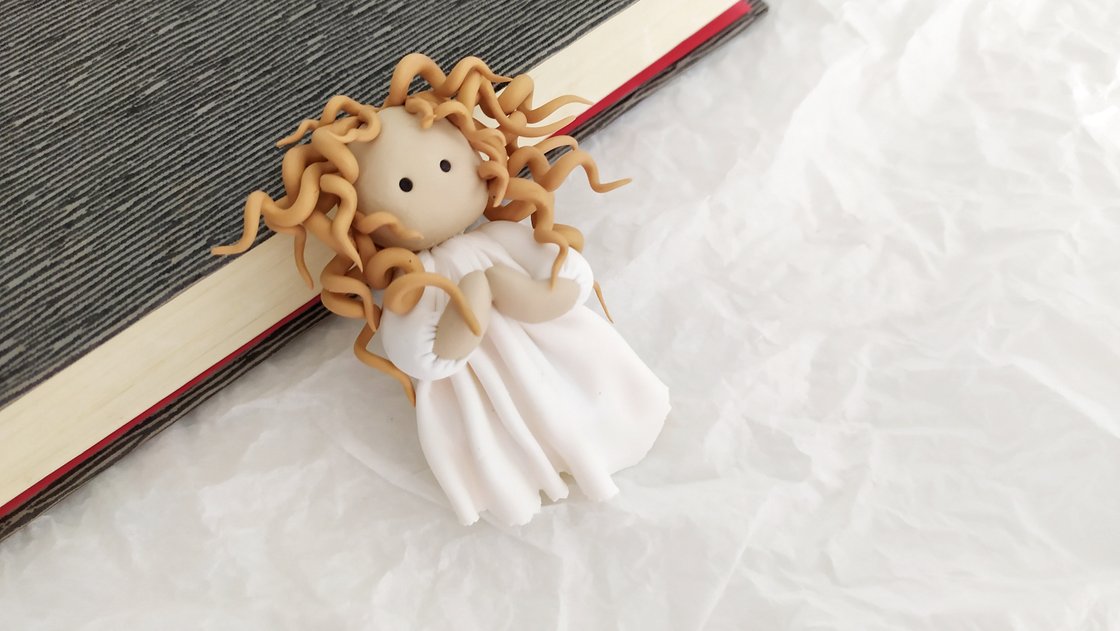
Fimo Mini Angel
Welcome to this step-by-step guide for creating a beautiful polymer clay angel! Whether you're a beginner or an experienced clay artist, this charming project is perfect for adding a handmade touch to your holiday decorations or creating a heartfelt gift for someone special.
In this tutorial, you'll learn how to sculpt a delicate angel figure using polymer clay. With just a few basic tools and some patience, you'll be able to craft an elegant angel that captures both grace and personality.
An article by Karina
What you need
- FIMO Soft Sahara
- FIMO Soft Black
- FIMO Soft White
- Fimo Effect Gold
- Modelling tools – 4 different modelling tools 8 different ends
- Blades
- Acrylic rollerAdditionally required:
- Needle, baking paper, pin, super glue
Step-by-step tutorial
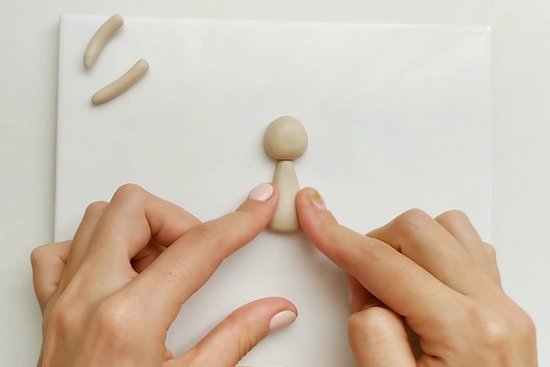
To create the angel, cut of 2 portions and another 2 portions of FIMO soft in sahara. This will be the body and the head of the doll. You also need two small pieces for the arms of your angel.

From the previously prepared pieces of FIMO soft, form a ball, press it against the working surface and form the head of the doll. For the body, roll out the other piece of FIMO soft sahara and form a drop. Press it to the head and press it tightly with your fingers to the working surface and to the head. Now form two sausages from the smaller pieces – these are the arms.
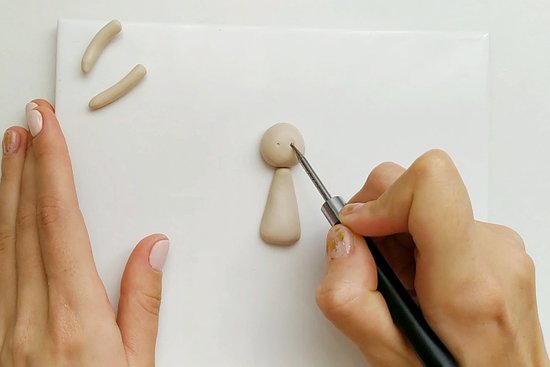
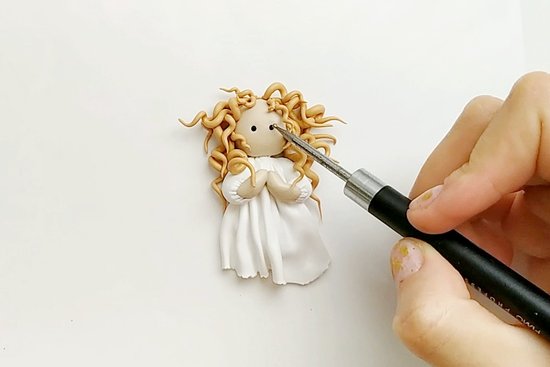
When your angel is ready, form two holes for the eyes with the help of the modeling tools.
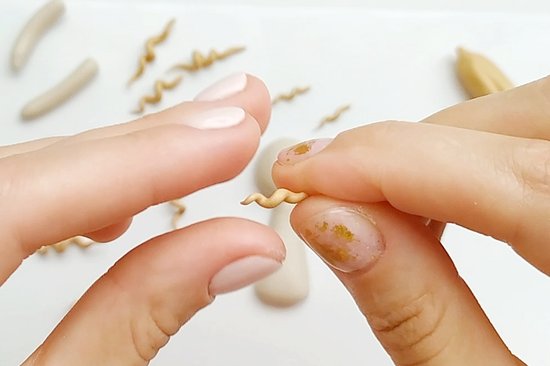
Now mix FIMO soft in white and FIMO effect in metallic gold in equal proportions. From the resulting shade, tear off small pieces of different sizes and roll them into small threads. To create an imitation of a curly hair, take a piece the FIMO, hold it by one end and twist the other end with your fingers so, the FIMO curls and resembles a lock of hair.
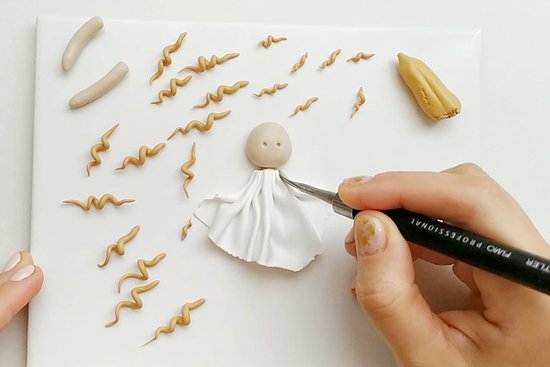
Use the acrylic roller or a clay machine to roll out 2 portions of FIMO soft white into a very thin sheet. Fold the FIMO soft sheet a few times to create the structure of the dress. Cut off the excess with a cutter only on the part that will stick near the head.

Press the dress with a modeling tool to the body of the angel.
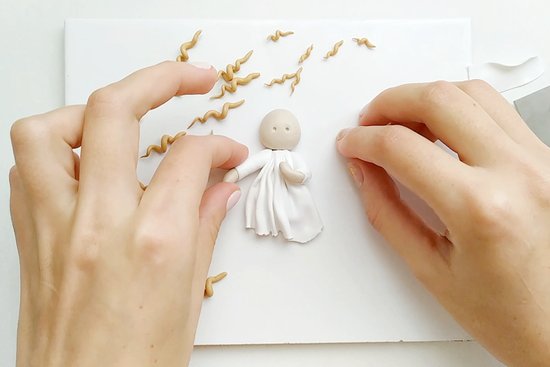
Use the acrylic roller or a clay machine to roll out the FIMO soft white into a very thin sheet. Form a narrow tape with a knife or blade. Wrap the arms, formed in Step 2, in this white layer. Cut off the tip at an angle and apply it to the angel. Use a needle to make small veins and grooves to simulate folds in the fabric.
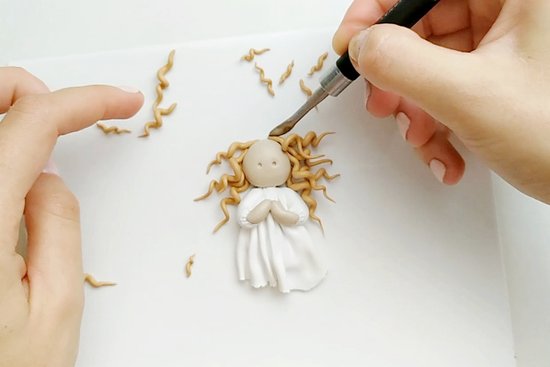
Transfer the curls of hair to the head of the doll using a scapula-shaped modeling tool. Place the longest and largest curls at the very bottom of the head and move to the top using smaller curls. Gently press them to the head.
Roll out two small balls from FIMO soft in black for the eyes of the angel.
Now place the angel on baking paper and let it harden in the oven at 110 ° C / 230 ° F for 30 minutes.
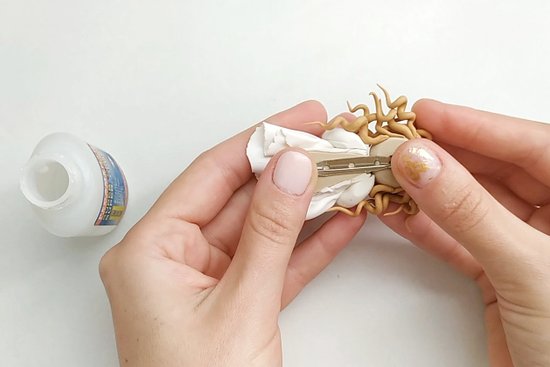
After the angel is cooled down, glue the pin to the back of the angel with super glue. And you are done!
Want to watch the tutorial in video?